April 4, 2022
The story behind this website
I have a lot of various little and some not so little coding projects I've worked on. It was imperative this work get showcased in a respectable manner. My portfolio site version 1.0 was a mess. It was a neat experience working with some unique and interesting features that took a lot of time to code. There was a real connection with that code but I just had to sever ties with that code and site. The design was not too intuitive, or pretty.
After progressing my education, I mastered Python/Django to a somewhat acceptable level. Now that I had some extra tools and technologies under my belt I felt I needed to exhibit my work in a more worthy manner. Hence, I present thee, Pavel's personal portfolio website version 2.0. Probably more like 2.0.389 because of all the million or so revisions.
About this concoction
For this project, I tried to really focus on doing everything in a realistic real-world workflow. Using version control, being mindful of security, deploying in a realistic manner with automated deployment, thinking about the user experience, trying to write clean/readable code, and so on. It was a solo project so that wasn't a realistic team type of workflow and I also didn't really do any testing.
I based the site on Python/Django. Django is most likely overkill for my purposes but I wanted to get good practice with it. It provided a convenient Content Management System (CMS). Django also simplified the process of managing blog posts, pictures, projects, and authentication.
The design took heavy advantage of Bootstrap. It helped make the design significantly more responsive with the menu, columns, project cards, text size, and many more parts of the site.
The site was deployed to DigitalOcean and I used GitHub Actions to automate the deployment process.
Design
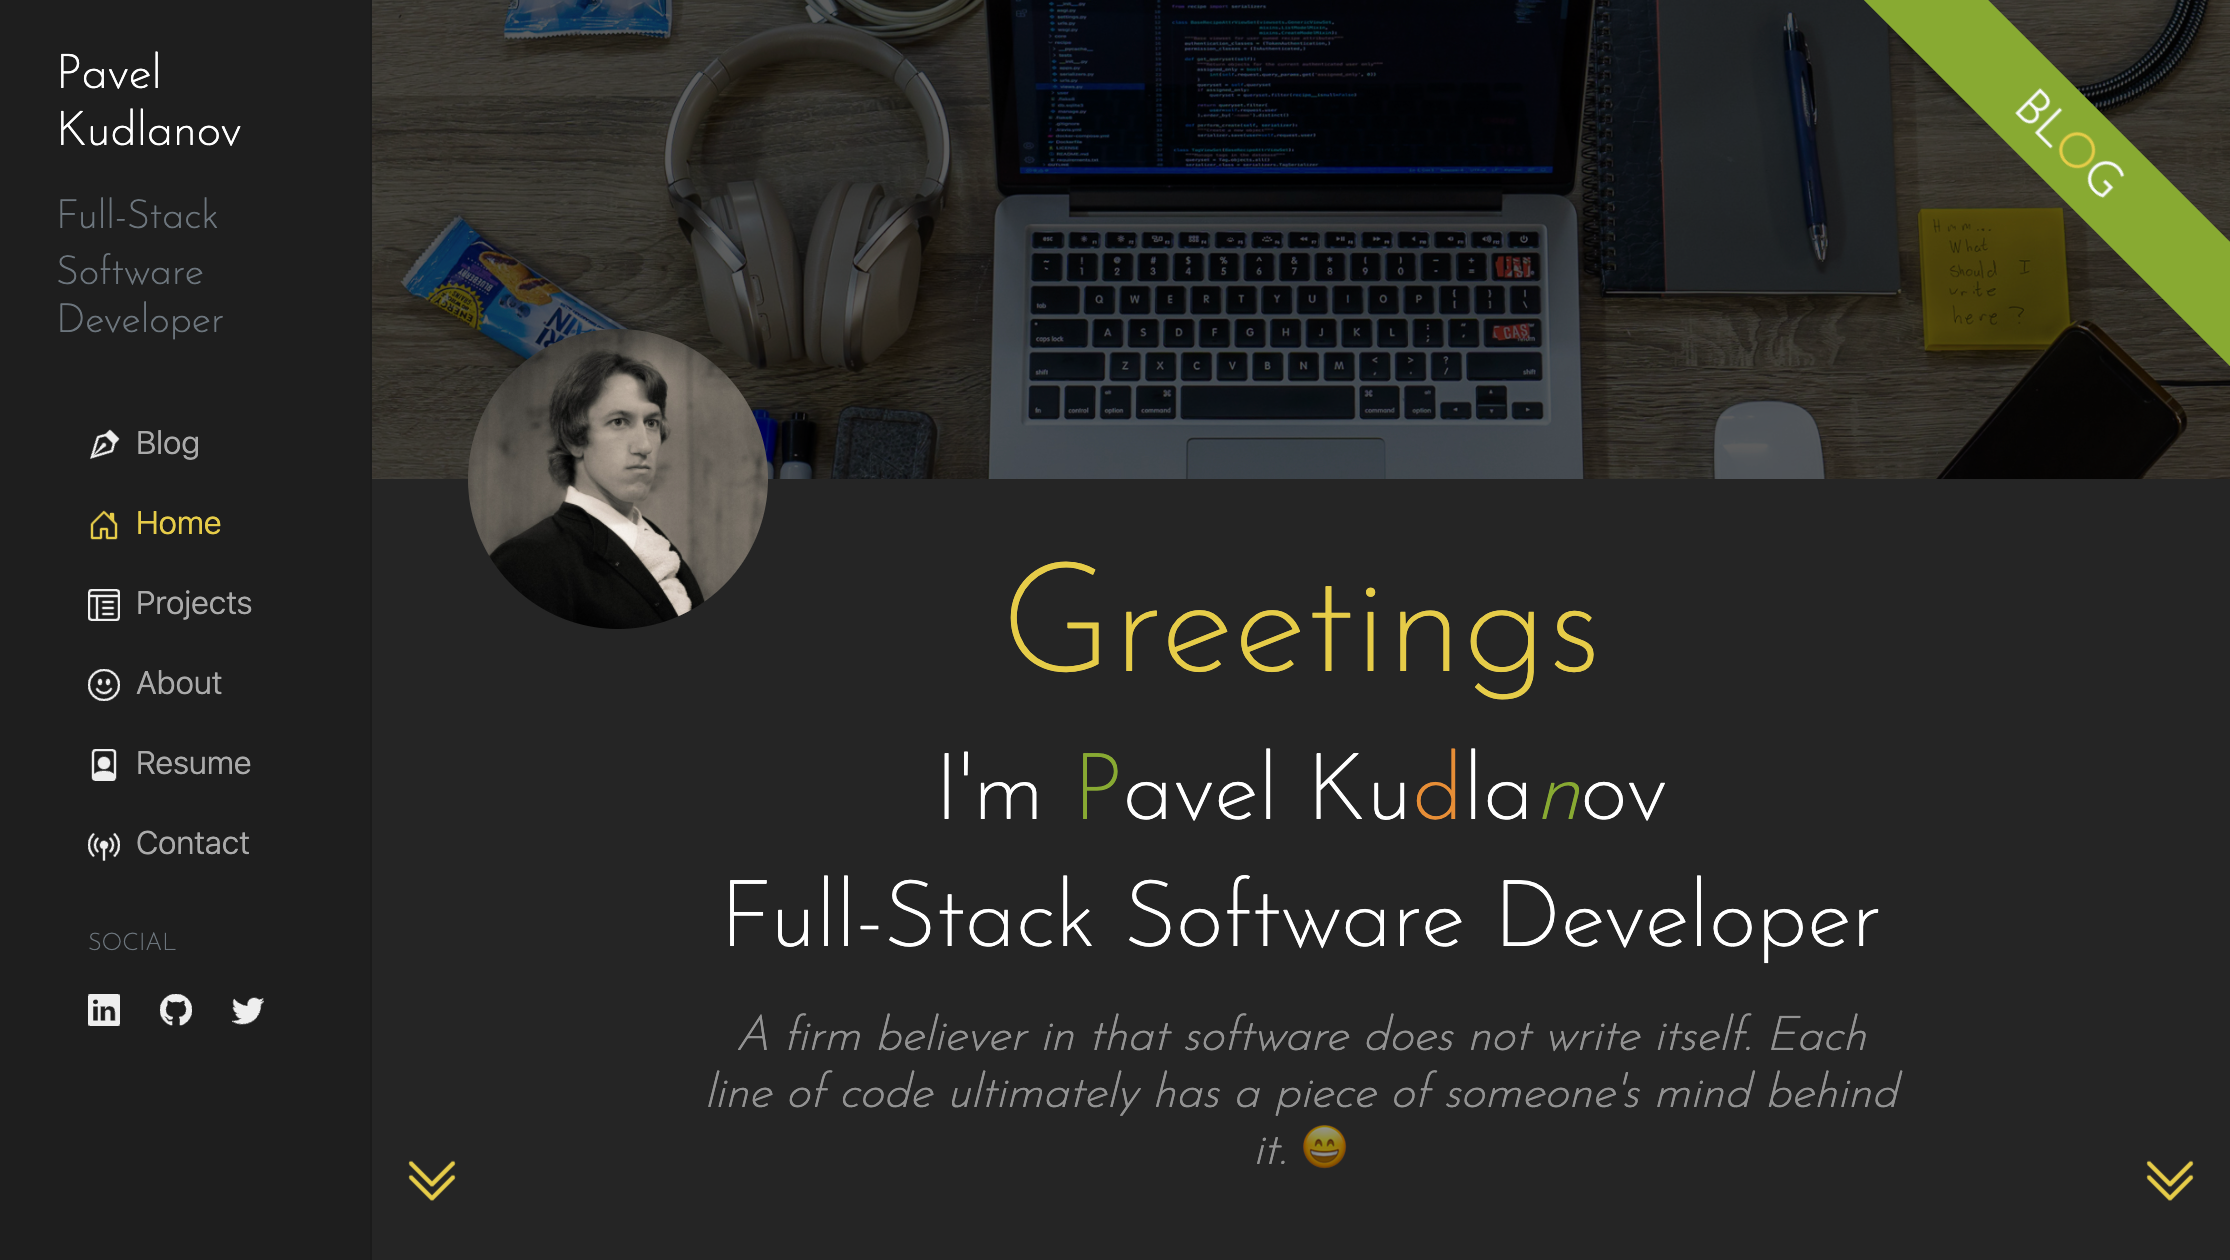
For the design, I took inspiration from all over the web from various portfolio websites I found. The main dark-themed design and colors were inspired by my personal coding environment in Visual Studio Code. I referenced Bootstrap examples for correctly laying out the design with the menu on the side and certain column features like the date appearing on the side in the blog.
When I started writing the Django templates, I hardcoded in all the content so I'm not focusing on database functionality yet. I created the basic design for project cards, tags, blog post list, blog posts, and more. Only after I had something that was of a somewhat acceptable nature I started coding in the content based on what was in the database.
In the end, the design was an ongoing process throughout the whole project. Various things would come up even after I started rendering content based on what was in the database. Things like error handling, or certain special features that I thought would be good to include.
Gifs as images
I had just regular png images for the majority of the images on the site. The Slack Bot app was completely a backend app so I had no frontend to show. I still wanted an image to present its functionality. The solution I came up with was a gif animation. I learned that gifs render practically the same way as regular images. I created a custom gif from multiple png images of the bot functionality in Slack.
Project cards as app windows
For the project cards, I used the Bootstrap cards element. I customized it significantly to make it appear correctly for my use case. The colors and how it was rendering the header and body were customized for my theme. I did get the idea from another portfolio site but they were rendering each card as an image and personally, I didn't like that idea. Every part of my card is an html element. Even the circular buttons at the top left are just plain div elements with a specific position, size, color, and a radius of 50% to make them a circle. To make sure all the cards were square to each other and the same I had to make sure the images were all a specific aspect ratio so they don't appear distorted.
Menu on the side
This started out as some custom menu presentation I got from a Bootstrap example. The default menu is a horizontal menu at the top in Bootstrap. The vertical menu incorporated the horizontal menu as well by taking that space for a search bar and to fit the button for a hamburger button if the screen gets too small. I didn't need that header at the top but I needed the hamburger menu button. I had to customize the CSS a bit so that menu renders at the top of the page rather than the space below where the hamburger menu appears. I also realized the vertical menu wasn't scrolling if the screen got too small. So the Bootstrap elements helped but they most definitely had limitations. Custom CSS solved the various issues.
Info popup for certain keywords
For this feature to work I needed to not only do the frontend design but also some computational analysis of text to render the popups for only the keywords in the database. I'll talk more in-depth about this feature a bit later. The design element for the popup was rendered globally by finding each element on the page with a specific data attribute. Then it would render a custom-designed HTML element connected to that word/element when it was clicked. The default design didn't work for my case. I needed some extra functionality. The Bootstrap popper element made it really easy to connect the popup to a specific word and have the popup follow the word when scrolling or resizing the window.
Blog posts rendered from Markdown
When I got to the point of writing the posts I quickly realized the whole element was getting rendered as one paragraph element. I needed the ability to include headers, subheadings, links, and such. I found a great Django package, markdownify. It makes it possible to write the text as Markdown, a lighter markup language than HTML, and then markdownify converts it to the correct HTML elements.
Form error handling
The email form at the end is getting handled asynchronously by AJAX. So I soon realized the default error handling isn't working because I need the page to refresh to get those errors. I was very new at working with AJAX so it wasn't completely clear how to get that default error handling, like the messages, to the front end with AJAX. It's actually possible to handle the success and error cases both very seamlessly with AJAX. They are both getting sent to and from the backend as JSON.
For the design and appearance of the errors, I tried to at first go with Bootstrap. It provides very clean and neat-looking error handling. The only problem is that Bootstrap is very light theme oriented. Lots of design features just don't appear right in a dark theme. I took some inspiration from how Bootstrap was rendering the errors and heavily customized the design to fit my use case.
Django admin panel styling
I thought I'd mention a bit about the Django admin panel styling because it was also some good experience even though most people will never come across it on my site. I actually didn't end up doing any visual styling. It was just too much for what I was aiming for. I was hoping to change a couple of things like font size, and how a couple of elements were rendering. I wanted to change how the textarea element was rendering so it would be more comfortable to type a blog post. I learned it was possible to create custom templates for the Django admin. The reason I decided not to integrate that into my site was that it seemed like too much for just changing the font size and the appearance of just one element.
I did customize the data itself that was appearing in the admin. The list of data entries that were being displayed by default only show one field like the name. For a certain table I wanted to see more data points for an entry, and have them be editable as well in list view. There was one table where the entries included a datapoint as a list of other data entries. The way that was represented wasn't intuitive and Django made it possible to update it fairly easily.
Database integration
During development, there was not much to working with the database. Creating all the models and working with SQLite just worked pretty much straight out of the box. Things got more challenging when it came to production and deployment. So I had to create the database on the DigitalOcean server then connect my Django app to it. The goal was also to do everything in a secure manner. I was trying to avoid sending any keys, passwords, or sensitive information into version control. The repository is public on Github. I managed to do that with environment variables.
Environment variables on the cloud server
On the DigitalOcean server though things still would not want to work. After trying many solutions suggested online, I found one that worked. I used a package called Django-environ. I wish I could say I knew why it worked and the other solutions didn't but I don't have the slightest clue. I tried to follow the directions in the documentation real carefully. It wasn't like I didn't know what I was doing either. I knew what they were talking about in the documentation. After following every single point things still did not work. I got Django-environ to work though. The environment variables were stored securely in the cloud and neither version control nor automatic deployment were compromising their integrity.
Deployment
Why DigitalOcean
I chose DigitalOcean to host the site. Not for any particular reason. It seemed reasonably priced and I had friends that have used it. They seemed to be rather happy with it. The documentation for it was quite good. It wasn't my first time deploying to DigitalOcean but I still most definitely wasn't too proficient.
How I set up the server
For the most part, I followed the DigitalOcean docs for deploying a Django site with a PostgreSQL database. I set up the server with Ubuntu 20.04 then created a virtual environment for my Python/Django project. I use Gunicorn and Nginx to process client requests.
Automatic deployment with GitHub Actions
For the rest of the work, I had to reference a little bit of everything I could find on the web. The docs on DigitalOcean don't really explain how to set up automatic deployment from a GitHub repository. Any info I found online didn't quite fit my use case with Python/Django. Many tutorials also didn't take into account security. The tutorials that did, didn't quite work for a Django project. The way I got everything to work was just a lot of trial and error. Trying various things from various tutorials and then in the end using a little bit of everything together to finally make it work.
Was automatic deployment necessary?
I really didn't need automatic deployment but it was just so satisfying and felt right for a project like this. It took a lot of elbow grease but the work paid off. Now every time I push any changes on the local git branch to GitHub it updates the DigitalOcean server accordingly without any of my input. It's also worth saying, it does this without breaking anything.
Rest or not? Probably not
I'm really glad I took on this project. It was much greater than I expected but the experience and practice I got from it was very helpful. I still can't say I'm proficient at Python/Django. I can most definitely say I'm more familiar with it than day one though.
I've come to the realization that the site will most likely be an ongoing work in progress. There are many more ideas I would love to implement. I want to get more active in the blog section posting about unique and different situations I've come across. Who knows, maybe my experience might help someone. On that note, I'd also like to add commenting ability to the blog. Everyone's situation is a little different so comments would be nice, to possibly be more user-friendly in the future.
Comments